As an experienced home maintenance specialist, I often hear people talk about "deep cleaning" with a mix of dread and confusion. Many homeowners and renters approach it like an insurmountable mountain of tasks, grabbing a mop and some spray cleaner and hoping for the best. But here’s a secret from the pros: deep cleaning isn't just about scrubbing harder; it's about scrubbing smarter. It's a strategic, methodical process that goes far beyond surface tidying, reaching into the hidden nooks and crannies to truly revitalize your living environment.
Think of deep cleaning not as a chore, but as an investment in your home's longevity, your family's health, and your own peace of mind. A proper deep clean doesn't just make your home look good; it significantly improves indoor air quality by removing accumulated dust, allergens, and pet dander. It extends the life of your appliances, flooring, and furnishings, and frankly, it just feels fantastic to live in a truly pristine space. This guide isn't just another checklist; it's your playbook for adopting a professional cleaning mindset, breaking down the overwhelming into manageable, actionable steps. We'll cover everything from precise planning to the right tools and techniques, ensuring your next deep clean is efficient, effective, and delivers lasting results.
The Master Plan: Crafting Your Deep Cleaning Blueprint
Before you even think about grabbing a sponge, the most crucial step in any successful deep clean is strategic planning. This isn't just about making a list; it's about understanding your home's unique needs, allocating resources (time and tools), and creating a flow that minimizes effort and maximizes impact. As a professional, I know that a well-thought-out plan saves hours and prevents common pitfalls like missing spots or duplicating efforts.
Assessing Your Home's Needs & Setting Priorities
Every home is different. Do you have pets? Young children? Allergies? These factors dictate where your deep cleaning efforts should focus. Start by walking through each room with a critical eye. What areas are truly neglected? Where does dust accumulate most? Note down specific challenges: stained grout, dusty ceiling fans, greasy kitchen cabinets, or grimy baseboards. This assessment forms the backbone of your personalized deep cleaning plan. For instance, if you have severe allergies, prioritizing high-efficiency particulate air (HEPA) vacuuming of carpets and upholstery, along with thorough dusting of all surfaces, becomes paramount.
Scheduling for Success: Time Management for a Pristine Home
deep cleaning takes time, and trying to cram it into a single afternoon often leads to burnout and subpar results. I always recommend breaking down the task. Instead of an entire "deep cleaning weekend," consider allocating specific blocks of time over several days or even weeks. For example, dedicate a full Saturday to the kitchen and an upcoming Sunday to bathrooms. For larger homes or particularly neglected spaces, a professional approach might involve staggering room-by-room deep cleans over a month. This makes the process less daunting and allows you to maintain energy and focus. Remember, consistency in your schedule for house cleaning, even for deep cleans, is key for home maintenance.
Decluttering with Purpose: Creating a Clean Canvas
This isn't just tidying; it's a critical preparatory step. Before any cleaning solution touches a surface, remove everything that doesn't belong. Clear counters, empty shelves, and put away loose items. The goal is to create an unobstructed environment, allowing you full access to every surface and corner. For instance, in the kitchen, this means removing all appliances, spice racks, and decorative items from the countertops. In a bedroom, it's about clearing nightstands, dresser tops, and even moving furniture slightly to access behind it. This step alone can cut your actual cleaning time in half and is a fundamental cleaning tip for efficiency.

The Professional's Toolkit: Equipping for Efficiency & Safety
You wouldn't expect a chef to cook a gourmet meal without the right utensils, and the same applies to deep cleaning. Having the correct, high-quality tools and cleaning agents is non-negotiable for achieving truly exceptional results while ensuring safety. As a professional, I prioritize durability, effectiveness, and user protection.
Powering Through Grime: Essential Equipment Upgrades
- High-Performance Vacuum Cleaner: For deep cleaning, a standard upright often isn't enough. Look for a canister vacuum with strong suction and a versatile array of attachments, such as a crevice tool for tight spaces, a dusting brush for delicate surfaces, and an upholstery tool. Models like the Miele C3 Complete Series are excellent for their robust filtration (often HEPA-certified, trapping 99.97% of particles 0.3 microns or larger) and ability to navigate various surfaces. For homes with pets, consider specific pet hair attachments.
- Steam Cleaner: This is a game-changer for sanitizing without chemicals. A handheld steam cleaner (e.g., Bissell SteamShot) can tackle grout, shower tracks, oven interiors, and even refresh upholstery. Larger steam mops are excellent for sealed hard floors, dissolving grime and killing bacteria with superheated steam.
- Microfiber Arsenal: You can never have too many microfiber cloths. They are superior to cotton for trapping dust, absorbing liquids, and leaving streak-free finishes. Invest in different colors for different tasks (e.g., blue for glass, yellow for general surfaces, green for bathrooms) to prevent cross-contamination.
- Specialized Brushes and Scrubbers: A variety pack of brushes with different bristle stiffness is invaluable. You'll need stiff brushes for grout lines (a simple toothbrush can work wonders for detailed areas), medium-stiff for scrubbing sinks, and soft brushes for delicate fixtures.
- Extension Tools: Dusters with extendable poles (like a high-reach microfiber duster) are crucial for ceiling fans, light fixtures, and crown molding, ensuring no dust bunny is left behind.
Smart Solutions: Choosing Your Cleaning Agents
The market is flooded with cleaning products, but a professional's approach is to use the right tool for the job – and this includes the right chemical. Always read labels, understand dilution ratios, and ensure proper ventilation.
- All-Purpose Cleaner: A good pH-neutral, plant-based all-purpose cleaner (e.g., Seventh Generation All-Purpose Cleaner) is versatile for most surfaces.
- Heavy-Duty Degreaser: Essential for kitchen grease and grime. For particularly tough spots, a commercial-grade degreaser or a strong solution of baking soda paste can be highly effective.
- Disinfectant: For bathrooms and high-touch areas, a hospital-grade disinfectant or a hydrogen peroxide-based cleaner offers effective germ killing without the harsh fumes of bleach. Always allow proper dwell time (the time the product needs to sit on a surface to kill germs) as specified on the label.
- Glass Cleaner: An ammonia-free formula prevents streaks on windows, mirrors, and shiny surfaces.
- Grout Cleaner: Specialized acidic or alkaline grout cleaners can make a significant difference. For eco-friendly options, a paste of baking soda and hydrogen peroxide works wonders for mild discoloration.
- Eco-Friendly Cleaners: For those prioritizing environmental health, many brands now offer powerful, biodegradable formulas. Additionally, household staples like white vinegar (diluted for light cleaning, full strength for mineral deposits) and baking soda (as an abrasive scrub or odor absorber) are incredibly versatile eco-friendly cleaners.
Safety First: Always wear robust cleaning gloves (nitrile or thick rubber) to protect your hands from chemicals and debris. Safety goggles are non-negotiable when working with strong cleaners or overhead tasks where dust or splashes could occur. Good ventilation is also paramount – open windows and use exhaust fans.
The Methodical Approach: Tackling Key Zones with Precision
With your plan set and tools ready, it's time to execute. Professionals follow a top-to-bottom, left-to-right approach in each room to ensure no spot is missed and gravity works in your favor. This means starting with high dusting and finishing with floor cleaning.
The Kitchen: A Grease-Fighting Masterclass
The kitchen is often the most challenging area. Begin by removing everything from counters and inside cabinets/pantry. Wipe down the inside of cabinets and drawers, vacuuming crumbs. For greasy cabinets, use a diluted degreaser or a paste of dish soap and warm water, scrubbing gently with a microfiber cloth. Appliances are next:
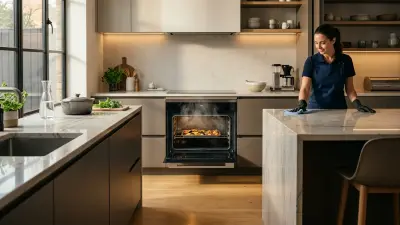
- Oven: If using a chemical oven cleaner, apply as directed (often requires hours or overnight). For a more natural approach, coat the interior with a thick paste of baking soda and water, let it sit overnight, then scrub and wipe. Use a heavy-duty scrub pad.
- Refrigerator: Empty, remove shelves and drawers. Wash all removable parts in warm, soapy water. Wipe down the interior with an all-purpose cleaner. Don't forget to vacuum the coils at the back or bottom for improved efficiency and to clean the rubber door seals with a damp cloth and mild soap.
- Dishwasher: Run an empty cycle with a dishwasher cleaner tablet or a cup of white vinegar on the top rack to remove mineral buildup and odors. Clean the filter at the bottom.
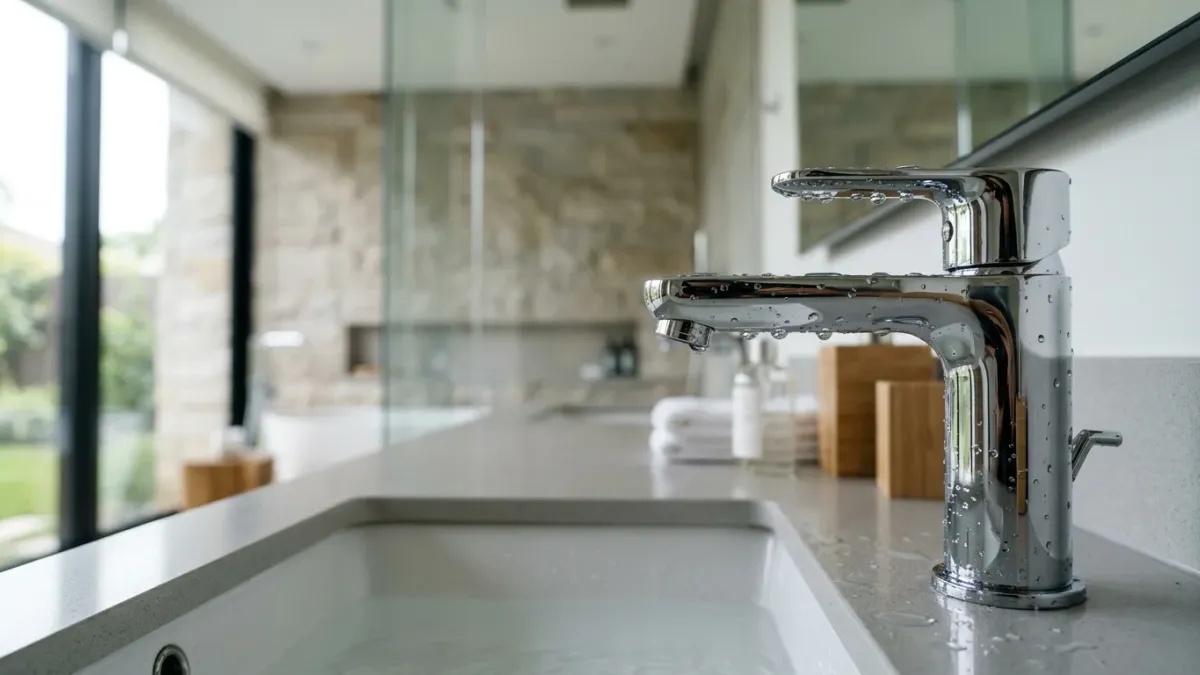
- Sink & Faucet: Scrub with an abrasive cleaner or baking soda paste. Use a detail brush for the faucet base and handle. Polish stainless steel sinks with a dedicated cleaner.
- Countertops & Backsplash: Scrub thoroughly, paying attention to grout lines with a stiff brush and grout cleaner.
- Floors: Finish by sweeping/vacuuming all debris, then mopping. For tile and grout, a steam mop can provide excellent sanitization and lift embedded dirt. For hardwood, use a pH-neutral wood floor cleaner and a damp (not soaking wet) microfiber mop.
Bathrooms: Sanitizing for Health & Shine
Bathrooms demand thorough disinfection. Start by removing all items from counters and shower caddies. Spray surfaces with disinfectant and let it dwell as per product instructions.
- Showers & Tubs: Spray with a mildew remover or an acidic cleaner for soap scum and hard water stains. Scrub thoroughly with a stiff brush or non-scratch pad. Use a detail brush for grout and corners. Rinse completely. For glass shower doors, a squeegee and a glass cleaner will provide streak-free results.
- Toilets: Apply toilet bowl cleaner, scrub vigorously, and flush. Wipe down the exterior, base, and behind the toilet with a disinfectant wipe or cloth, paying close attention to hidden crevices.
- Sinks & Faucets: Scrub with an all-purpose cleaner or baking soda paste. Use a detail brush around the faucet and drain. Polish chrome fixtures.
- Mirrors: Clean with an ammonia-free glass cleaner and a microfiber cloth for a streak-free shine.
- Floors: Vacuum or sweep, then mop with a disinfectant floor cleaner. Again, a steam mop is excellent for tile.
Living Areas & Bedrooms: Dust, Allergens & Freshness
These rooms primarily collect dust and allergens. The key is thoroughness.
- High Dusting: Start from the top. Use an extendable duster for ceiling fans (wipe blades individually with a damp cloth), light fixtures, crown molding, and high shelves. Work your way down to lower shelves, picture frames, and decor. Use slightly damp microfiber cloths to capture dust, not just move it around.
- Walls & Baseboards: Dust walls with a dry microfiber mop or cloth. Wipe down baseboards with a damp cloth and all-purpose cleaner, paying attention to scuff marks.
- Upholstery: Vacuum upholstered furniture thoroughly with the upholstery attachment of your vacuum. For stains, spot clean with an appropriate fabric cleaner. Consider a steam cleaner for a deeper refresh if fabric-safe.
- Windows & Blinds: Clean windows with glass cleaner. For blinds, close them one way and wipe, then close them the other way and wipe. For venetian blinds, a damp microfiber cloth or a specialized blind cleaner works best.
- Floors: Thoroughly vacuum carpets and rugs, ensuring multiple passes, especially in high-traffic areas. For hard floors, vacuum, then clean with an appropriate cleaner and microfiber mop.
Sustaining the Sparkle: Integrating Deep Clean Habits
A deep clean is a monumental effort, and you want its effects to last! The true mark of a professional cleaning service isn't just the initial sparkle, but how well the client can maintain that level of cleanliness. This involves incorporating "mini deep cleans" and smart home maintenance habits into your regular routine.
- Regular Dusting: Make dusting a weekly habit using microfiber cloths to prevent heavy buildup.
- Spot Cleaning: Address spills and stains immediately. This prevents them from setting in and becoming major deep cleaning challenges.
- Kitchen & Bathroom Wipes: Keep disinfectant wipes or an all-purpose spray and cloth handy in these high-use areas for quick daily wipe-downs.
- Floor Maintenance: Regular vacuuming (1-2 times a week) and mopping (weekly or bi-weekly depending on traffic) will keep floors pristine.
- Appliance Care: Wipe down appliance exteriors daily. Regularly clean your microwave and stovetop after use.
- Scheduled Mini-Deep Cleans: Every 2-3 months, pick one room or area for a focused "mini deep clean." For example, one month tackle the oven and fridge, the next month focus on shower grout and bathroom cabinets. This prevents any area from becoming overwhelmingly dirty again.
Adopting this strategic mindset and committing to a methodical approach will transform your relationship with deep cleaning. You'll move from feeling overwhelmed to empowered, consistently achieving a cleaner, healthier, and more inviting home that truly shines. Happy cleaning!